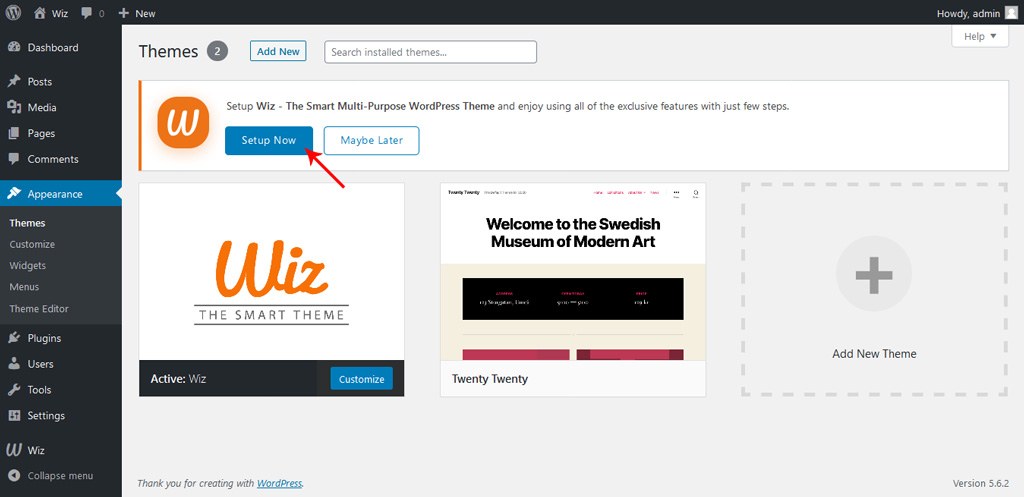
Once you’ve installed and activated theme to your WP Dashboard, a notification will appear on your WP Dashboard to start to walk through Wiz wizard to install the required plugins, import demos and install child theme.
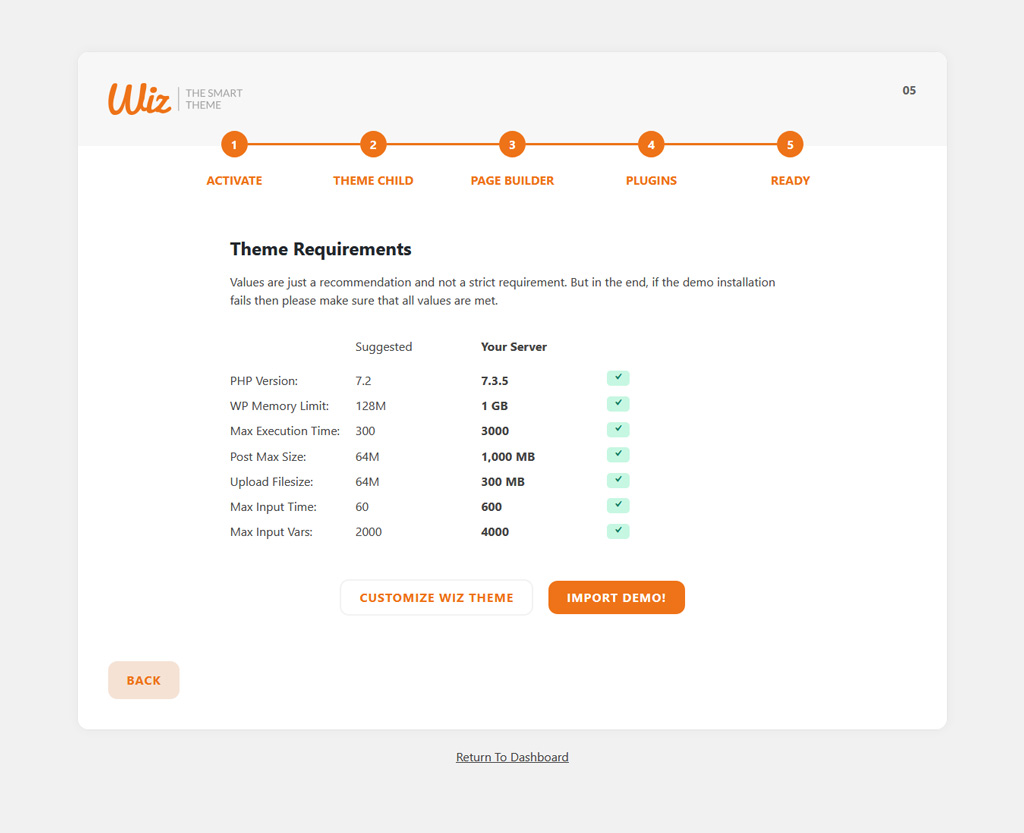
Before starting Wiz Wizard installation process please make sure that your WordPress has the recommended theme requirements, to use Wiz theme in its maximum performance and efficiency. Also, to make sure that installation process will not be interrupted because of theme requirements.
- Recommended PHP Configuration Limits:
- PHP Version: 7.2
- WP Memory Limit: 128MB
- Max Execution Time: 300
- Post Max Size: 64MB
- Upload File Size: 64MB
- Max Input Time: 60
- Max Input Vars: 2000
Step 1: Click on Setup Now button.
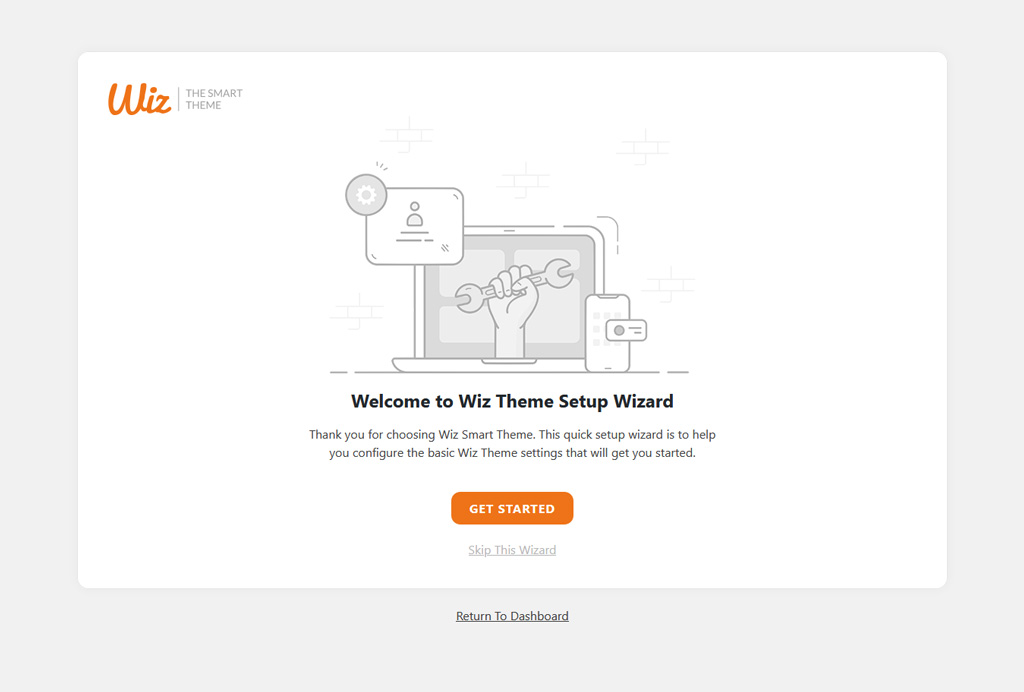
Step 2: You’ve two options, you can continue with Wiz Wizard and setup theme require plugins automatically by click on Get Started button, or skip and setup them manually by click on Skip This Wizard.
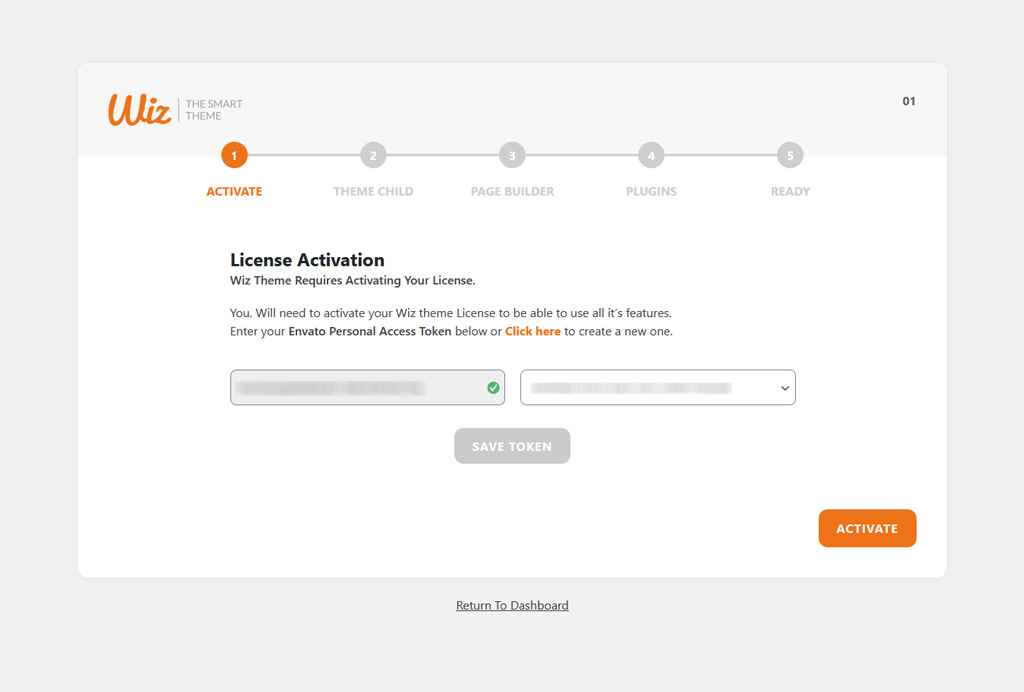
Step 3: You’ll be asked to register Wiz theme using a token key so that you can install the required plugins and import the demos.
- Enter your Envato Personal Access Token in Access Token filed or Click here to create a new one.
- Click on Save Tokken button then a license key will appear
- Click on Activate button to activate the licenses.
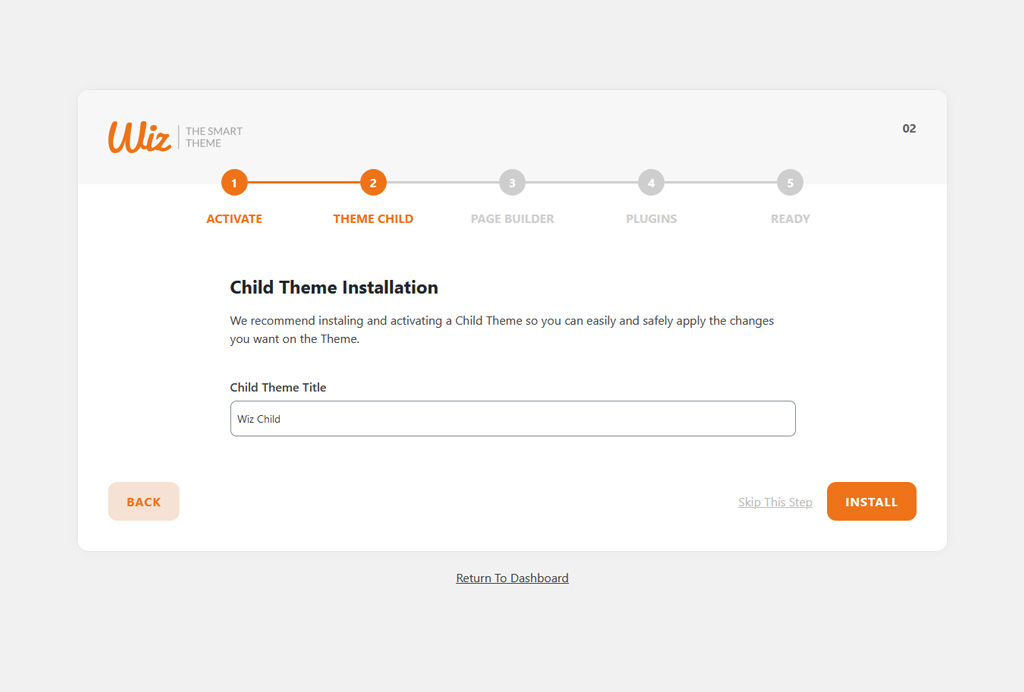
Step 4: Install a child theme allows you to apply custom code changes to your site. Using a child theme ensures that all your customizations will not be overwritten even when you update the parent theme.
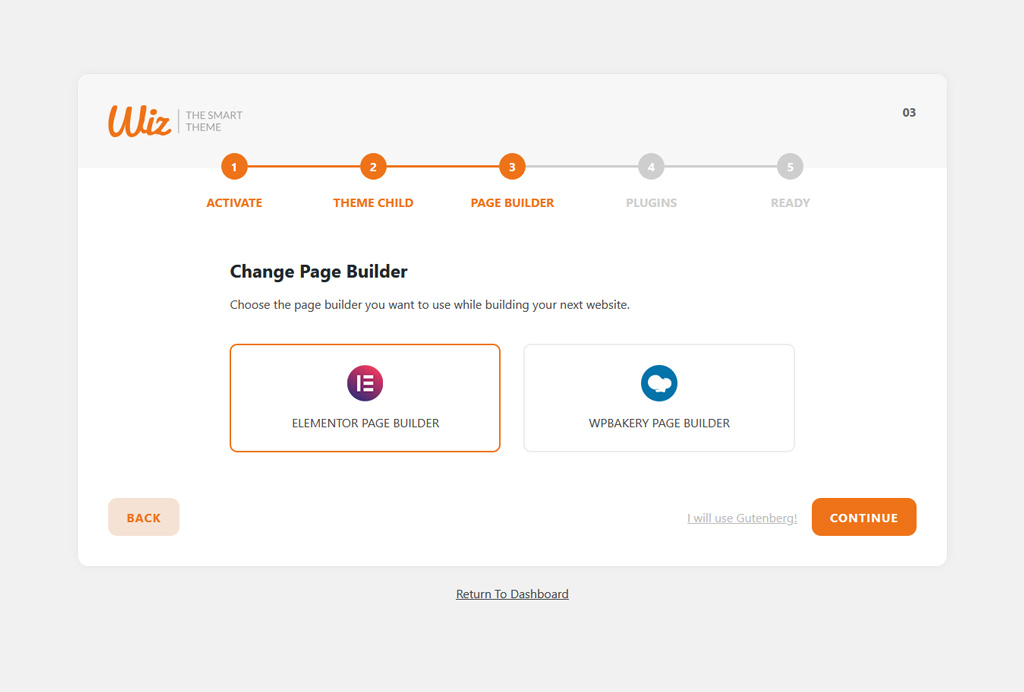
Step 5: Select the page builder you want to use while building your next website. Wiz 4 supports Elementor Page Builder and WP Bakery Page Builder, select the one that matches your needs. All demos are available on both page builders. Also, you can use Gutenberg page builder the original WordPress builder.
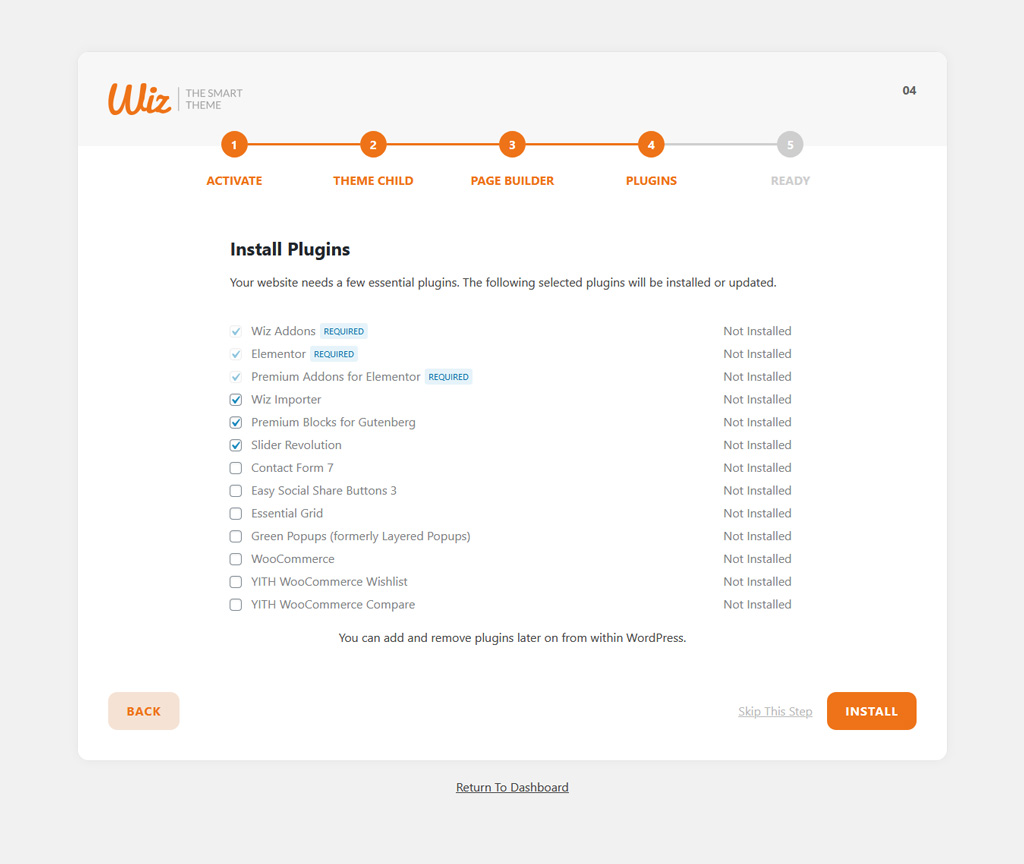
Step 6: Once you’ve selected the page builder in the Plugins step, you will select which plugins will be installed to your WP Dashboard. You can add and remove plugins later.
Please note: there are some required plugins so the theme can work with its full features, it’ll be marked with the required label.
Step 7: Theme Requirements screen are just a recommend some values it’s not a strict requirement. But in the end, if the demo installation fails then please make sure that all values are met. Please check System Requirements article for how to increase yours.
Also, you can click on Import Demo! button to start import any pre-made demos. Please check Demo Installation article for more information.
Now everything is ready, we’ve installed the child theme and the required plugins.